How to Create an Email Signature on iPhone
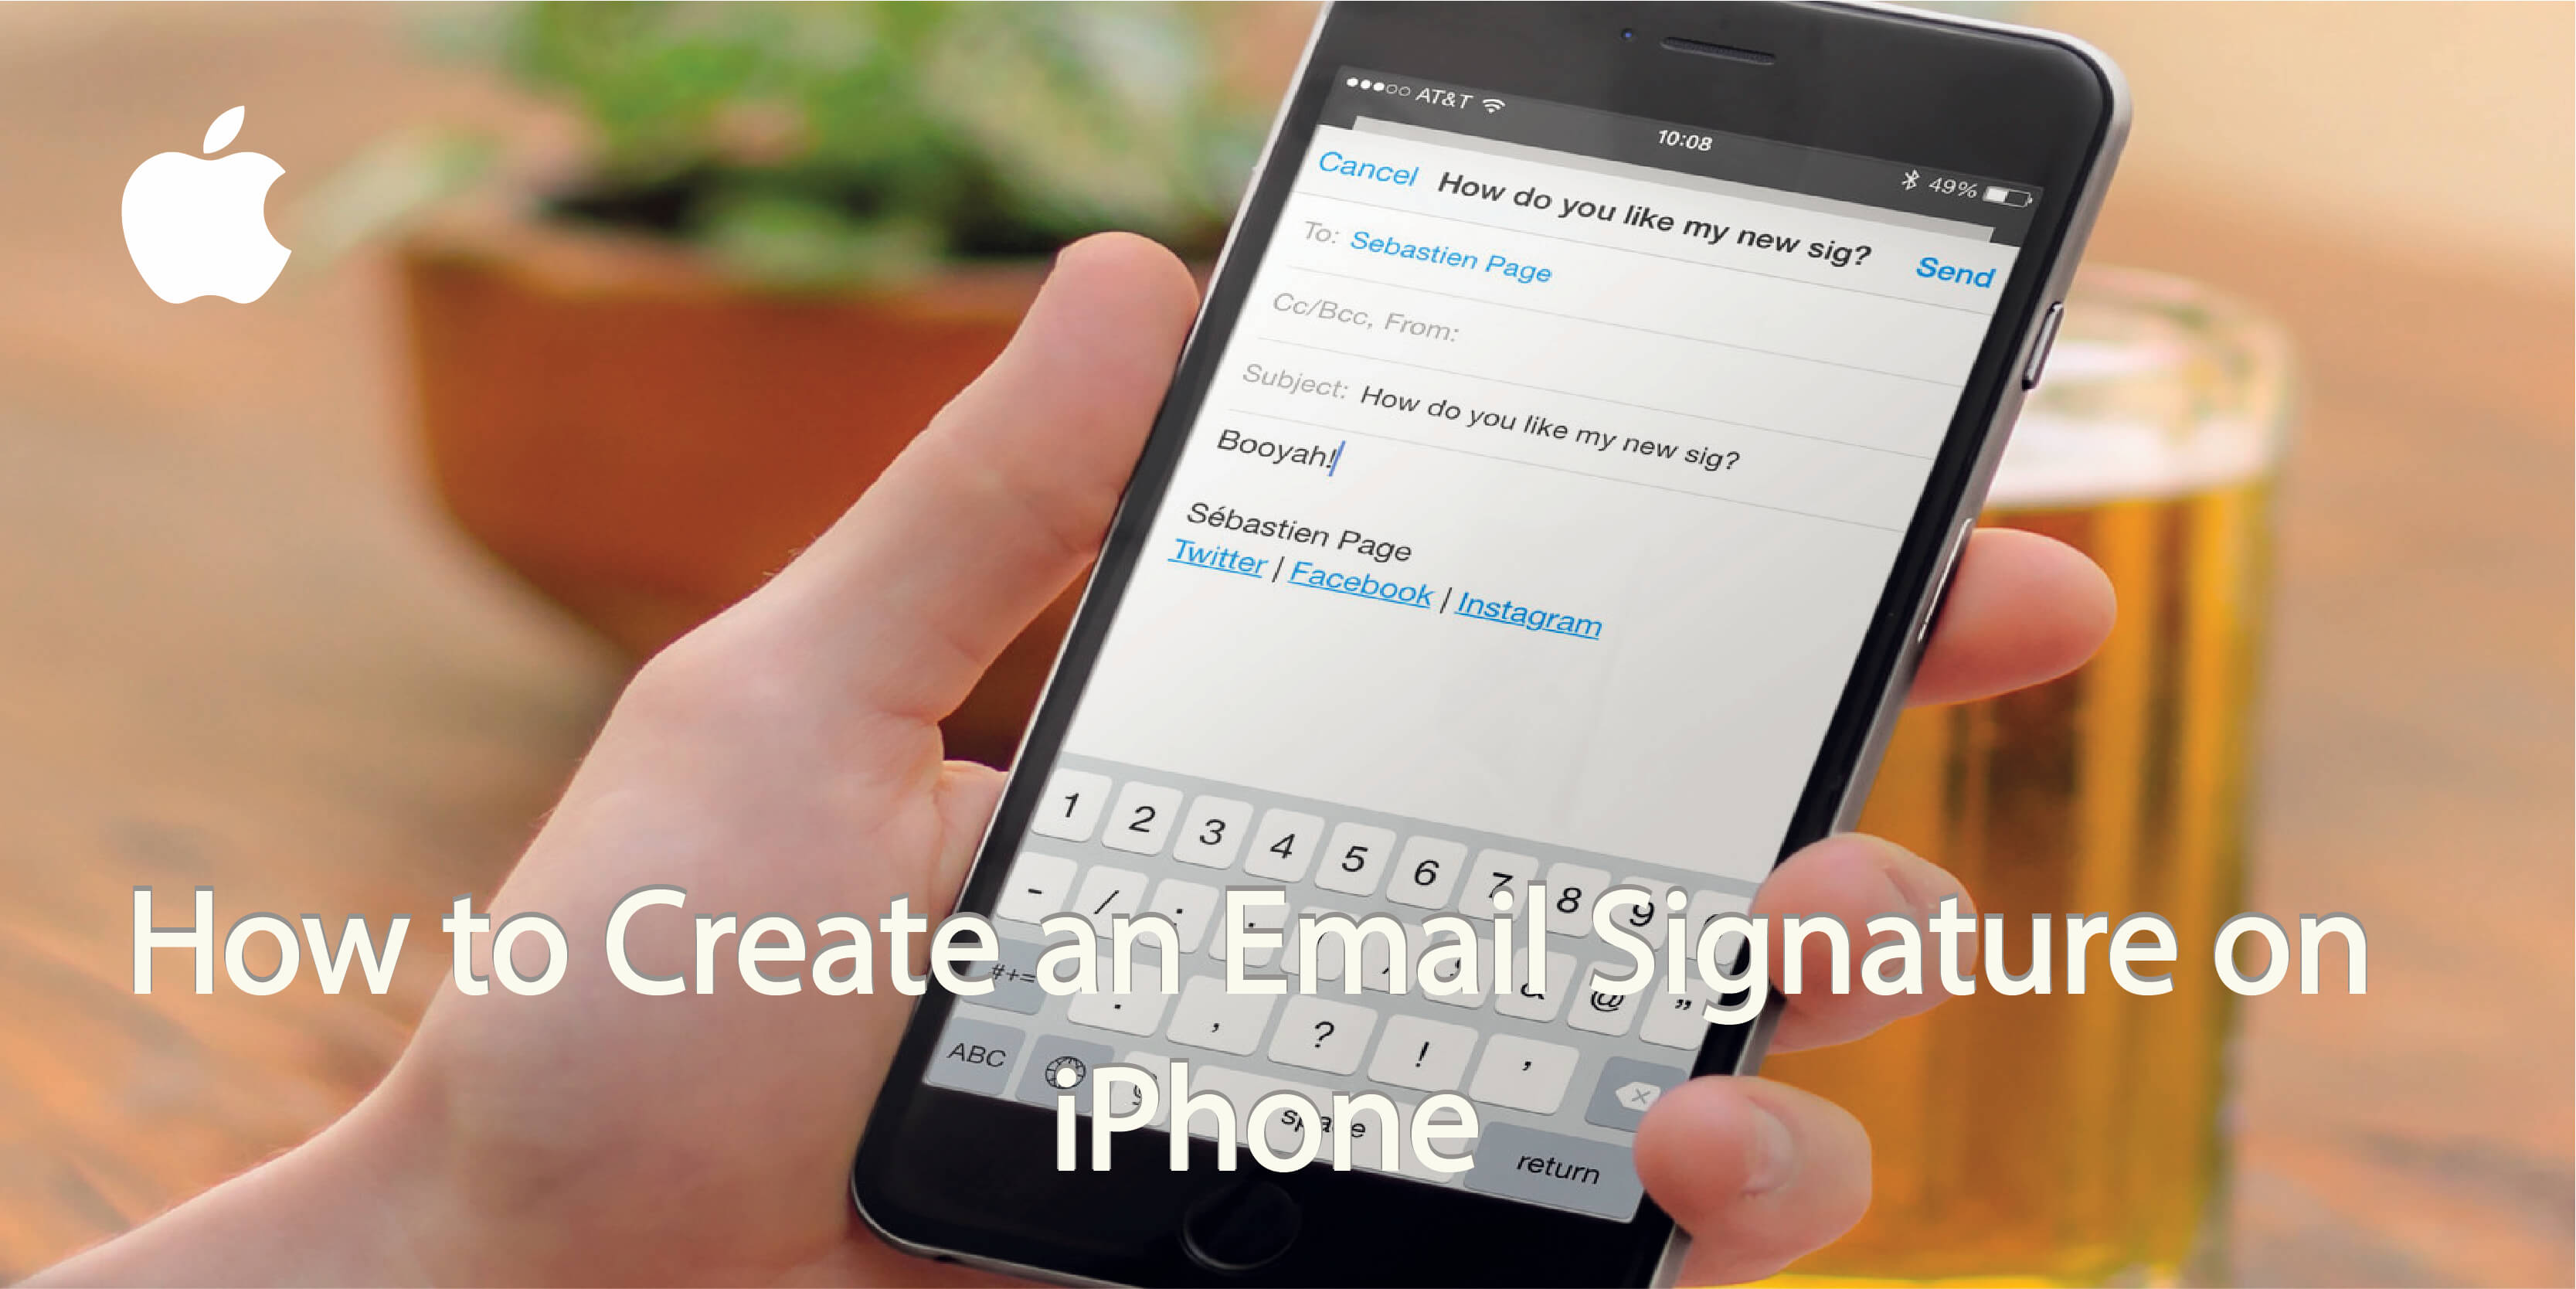
Need a custom signature for your iPhone? I am sure many of your have thought how to do this before! If you want to change the default ‘Sent from my iPhone’ signature, you can fully customize the text easily.
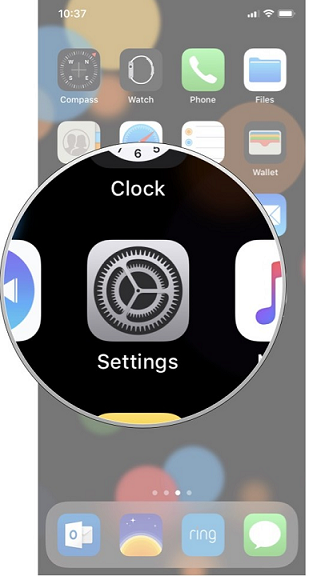
Firstly you need to head to the ‘Settings’, you can just swipe down and search for them.
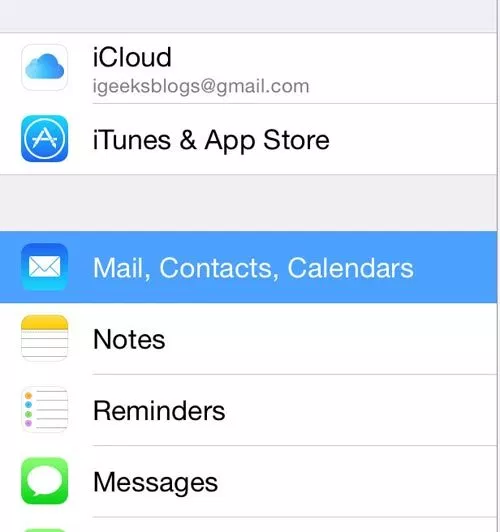
In Settings, tap ‘Mail, Contacts and Calendars’.
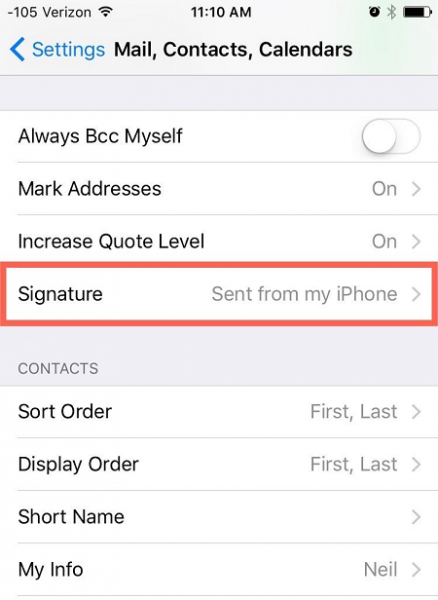
There will be a section for ‘Signature’ under the Mail section.
If you have multiple email accounts, you can change the signature for ‘All Accounts’ or ‘Per Account’ individually. Choose which one you prefer.
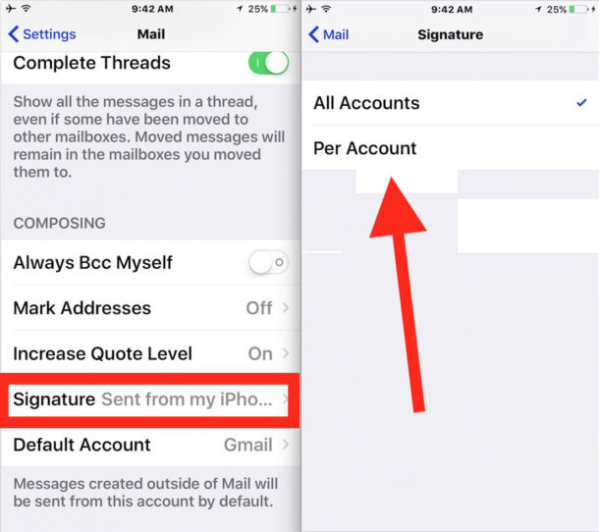
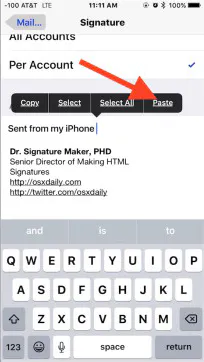
Delete the default signature and add your own version. You can cut and paste to carry formatting over.
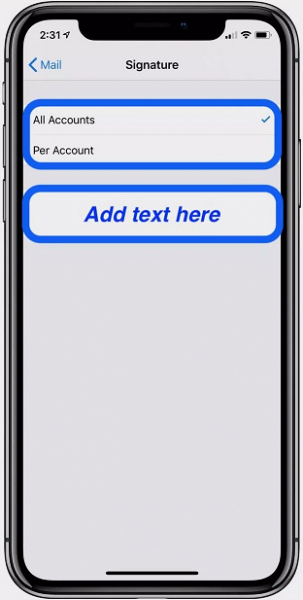
When you’re done, simply click back next to the ‘Mail’ heading and your email signature will be updated.
And now you’ll have a unique email signature sent direct from your iPhone!
Want to create an electronic business card or your own QR code to quickly share your profile? Covve allows you to quickly share contact details and makes sure your contacts are always up to date. Find out more about Covve.