Having an electronic signature ensures that your email recipients always have your contact details handy and it is also increasing the awareness of your brand with every email you send.
In fact, if you are in business, an electronic signature is essential to ensure that your contact knows who they are talking to – especially when so many of us deal with a huge volume of emails each day.
Setting up an electronic signature for your Outlook account is simple.
a) In Outlook 2016
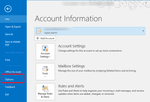
Go to file and then options.
You’ll see a group of tabs, select mail and then scroll down to signatures.
Select New and type in a name for the signature you’re creating.
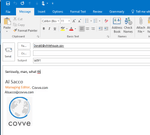
Edit the text and content of your signature and upload the image you want to include. There are plenty of formatting options there, i.e. adding links, changing fonts, adding an image.
For best results, keep your image around 90 pixels square. The highest it should be, is ideally 150 pixels and the longest should be 650 pixels.
Click OK and now your signature is ready to be used in each new email you send.
If your email signature doesn’t show up by default, you will see an option on the top bar that says ‘Signature’.
You can click there to add it. You can create more than one signature allowing you to choose what to share with different people at a click of a button.
b) Outlook.com/Hotmail
If you’re setting up your Outlook/Hotmail online account to send emails with signature, this is also pretty simple:
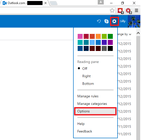
Once you’ve logged in to your online account, you’ll see the gear cogs icon.
Click on that & Scroll down to ‘Options’.
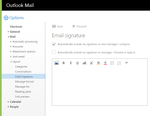
There will be a long list, locate the ‘Email signature’ under ‘Layout’.
Edit the content and add an image if you’d like.
As above, keep the image small: 90 x 90 pixels is ideal, but if you want a rectangular image then 150 pixels high by 650 pixels wide should be the maximum.
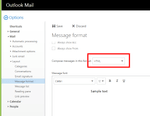
Make sure that emails are being sent in HTML format. In the left expandable menu under Mail, then layout, select Message format. Check that “Compose messages in this format” is set to “HTML” and not “Plain Text”.
Save when you are done, and the signature will be added to every outgoing email from your online account.
Written on 05 Apr 2019.
Get the latest insights with The Networker, our bi-weekly newsletter.
Related Posts:
